
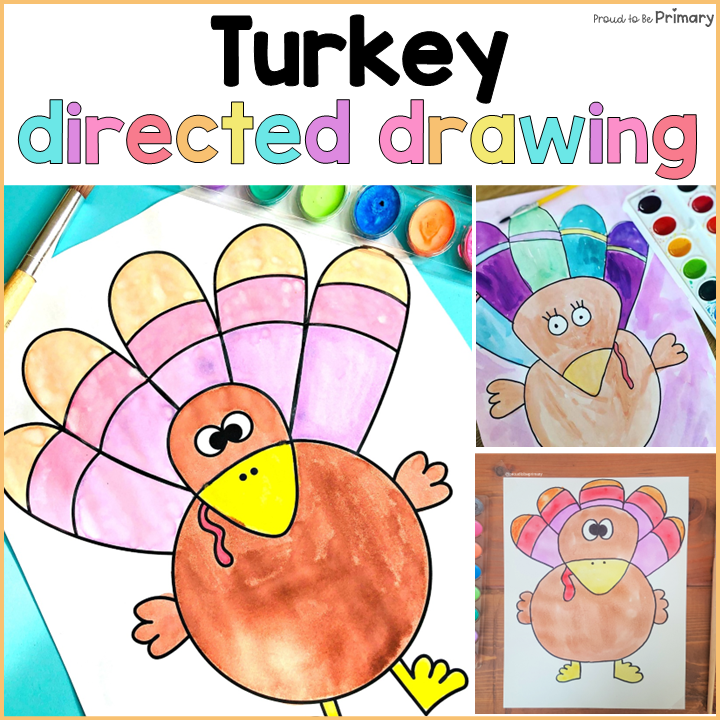
A turkey drawing lesson for teachers with step-by-step directions. This directed drawing makes a great art lesson for Thanksgiving.

Today, I am sharing step-by-step instructions on teaching a turkey directed drawing as a Thanksgiving art idea. In Canada, we celebrate in October and finished these cute turkeys last month. I just had to share it with you all so you can try them.
Those who know me and read my blog know I LOVE DIRECTED DRAWING! I love the results you get, and all my students feel successful when they see how to draw step-by-step. Below are the directions I gave my students; I love how they turned out!!
Turkey Directed Drawing Step-by-Step Guide
I used my large chart stand for this art activity, but you could use your projector or other technology to project the image large enough for all to see. You can grab the FREE instructions at the end of this post.
- Each person is given a large piece of white art paper and asked to turn it in portrait style. They can use a pencil and eraser (sparingly) to draw each step as I demo each step.
- Start with the head shape. I explained it should look like an upside-down V shape.
- Add a curved line across the upper part of the head.
- Add two circles close together for the eyes. I let them choose the direction the irises are pointing.
- Add the turkey waddle to the side of the head. I explain that it’s a squiggle line down and back up.
- Add a big circle for the body under the head.

7. Draw on two legs under the circle. They can go in whichever direction they choose.
8. Add two wings on the side of the body, like three fingers on a hand.

9. Draw the back feathers starting on top of the head, like upside-down U’s, and work their way around each side. Make sure to connect them with the body, not just the head!
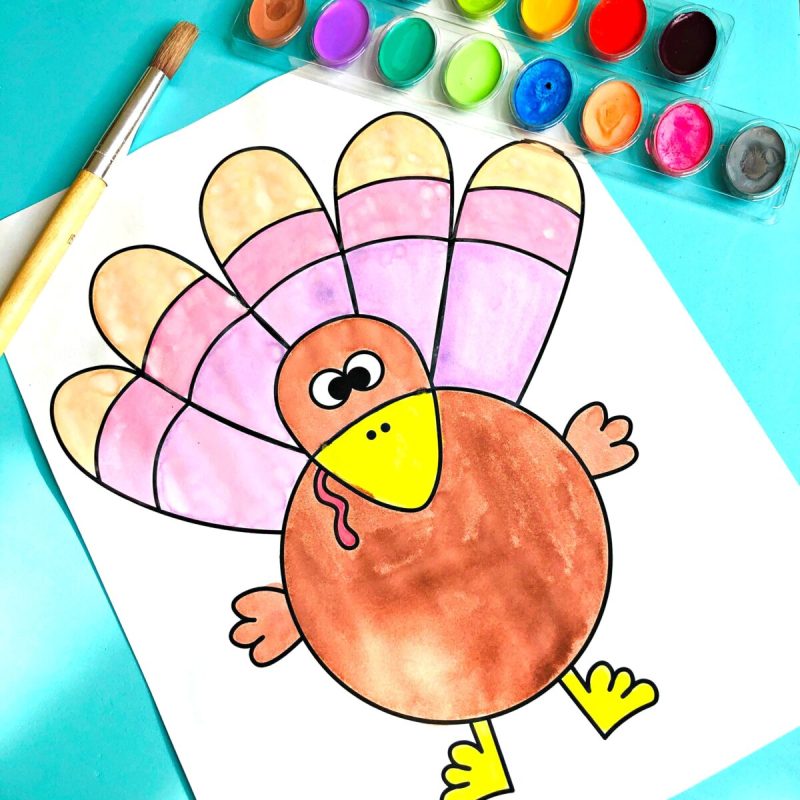
Voila! They will LOVE their adorable and silly-looking turkey drawings!

Turkey Drawing Final Touches
With a Sharpie marker or skinny black felt, I have them carefully trace over all the pencil lines. I have also seen people trace using crayons with good results. They should erase the pencil lines with a good (white) eraser.
After, it’s time to paint with watercolors.

I give them a few color guidelines.
- Body: brown
- Waddle: red
- The rest was up to them.
- Then, I encouraged them to create colorful back feathers. I also had them use a background color they hadn’t used yet to create contrast.

This is one of my favorites (It looks like an evil ninja turkey)!
I created a “Turkey Time” bulletin board with watercolor turkeys and some Thanksgiving writing to display our adorable turkeys.

I love how they all look unique and different! Cute & colorful! Use the writing prompts from the Thanksgiving classroom activities in the Fun Pack, too!

FREE Printable Turkey Drawing Directions
Grab the FREE printable instructions to teach kids how to draw their turkeys for Thanksgiving and fall.
Click the image below to grab a copy!
This Turkey Drawing is included in the Directed Drawing Mats.
Add directed drawings to your weekly lesson plans to help children follow directions and build drawing skills.

There are five different directed drawings included in each month of Drawing Mats!
Do you like this activity and want more directed drawings?
Directed drawing art activities help kids produce masterpieces and build confidence. This guide lists directed drawing resources, suggested materials, and FREE step-by-step tutorials.

MORE Directed Drawing Activities


P.S. – Don’t miss Black Friday deals and discounts for teachers!

PIN IT


