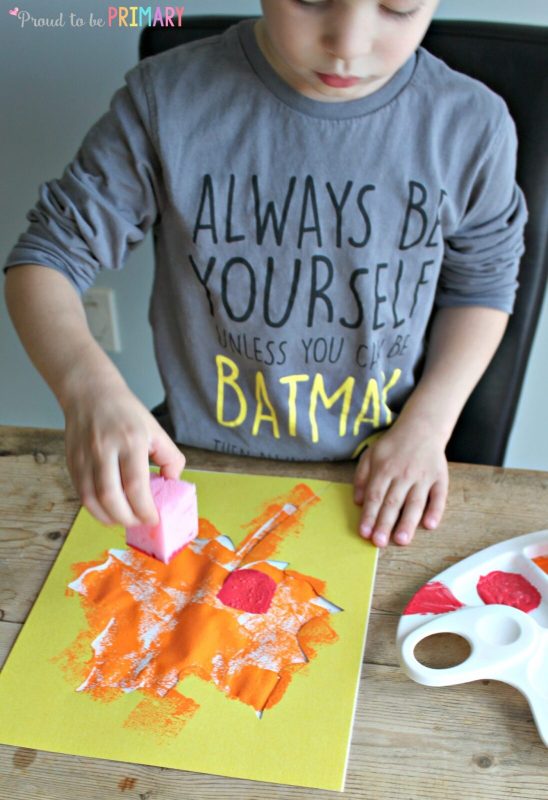
This is such a fun option if you’re looking for fall art projects! Try this fall sponge painting art lesson. Teach and complete it with only a little help from an adult. The technique of using sponges and layering fall paint colours creates beautiful results worth framing.

The Classic of All Fall Art Projects: Fall Shapes Sponge Art
Finding Shapes for the Fall Art Activity
We wanted to create some kid-created fall art projects to hang in our living room for fall. We choose some cute clip art pictures with bold outlines that can be easily traced. I used shapes from the clip art Educlips. She has a wealth of wonderful seasonal sets. I enlarged them and printed them off the computer on white paper.
You could recreate this art activity with any images for any season or theme you wish.
I cut the shapes out along the outlines.
Then, I cut pieces of heavier paper large enough to fit each shape inside. Finally, I used a marker and carefully traced the outline of each shape.
I made sure the black outline was thick enough to follow during cutting.
Each shape was cut out carefully with only 1 cut-in to the shape.
After cutting out the owl, I was left with the inner and outer pieces. You can save in the inner pieces and use those for a future art activity! You will need the outer pieces for this activity.
Painting the Fall Shapes with Sponges
I cut white pieces of quality art paper the same size as the yellow paper. This way they can be placed perfectly on top of one another. I would suggest using a paper clip to keep the two together while painting. This way there is no slipping and the shape stays exact.
We also bought a pack of sponges at the dollar store and cut them into smaller pieces using scissors. We poured acrylic paint onto an art palette. Tempura paint works as well as acrylic. We decided to use the fall colours: brown, yellow, red, and orange.
We had a different sponge ready for each colour of paint. To paint, we dabbed the sponge in one colour at a time and lightly dragged off the extra paint on the edge of the palette.
We used the sponge all of the inner cut-out, making sure to get all along the edges. Once done, we used each colour, one at a time and covered the shape. Then, we layered the colours on top of each other.
We found that as we layered the colours, we still saw the colours underneath popping out.
After that, we layered each colour until the entire shape was covered. We saw the result above. Then, we carefully removed the yellow paper to reveal this amazing result!
The leaf turned out beautiful with its mixture and layers of fall colours!
Our painted leaf looks like a real fall leaf that has fallen from a tree.
We went on to sponge paint an apple next. There is a lot of red to create an apple look. We lightly layered the other colours on top.
We also sponge painted an owl. No fall decor is complete without an owl, and we love owls in our house! We used the brown paint first and layered the other colours on top.
Lastly, we created a pumpkin. We started layering the red and yellow on first and ended with the orange paint on top.
Our fall sponge paintings turned out wonderful!
The colours of paint in each shape looks different because we choose to sponge paint each colour in a different order each time.
We plan on framing these beauties and hanging them for our family to see during Thanksgiving. We enjoyed this activity so much that we plan on creating more shapes for future fall art projects.
Note: Next time we create fall shapes sponge art paintings, we will use heavier art paper that does not ripple when wet with paint. I would suggest a white cardstock paper for best results.
FREE Fall Directed Drawing Activities
Try this set of directed drawing, plus writing and reading activities this fall! Use these activities, along with your read alouds for a fun fall lesson!
Click the image below to download a copy.
More Fun Fall Art Projects
Fall Arts and Crafts – Fall Trees
Turkey Math: Number Sense Turkeys
PIN IT


