
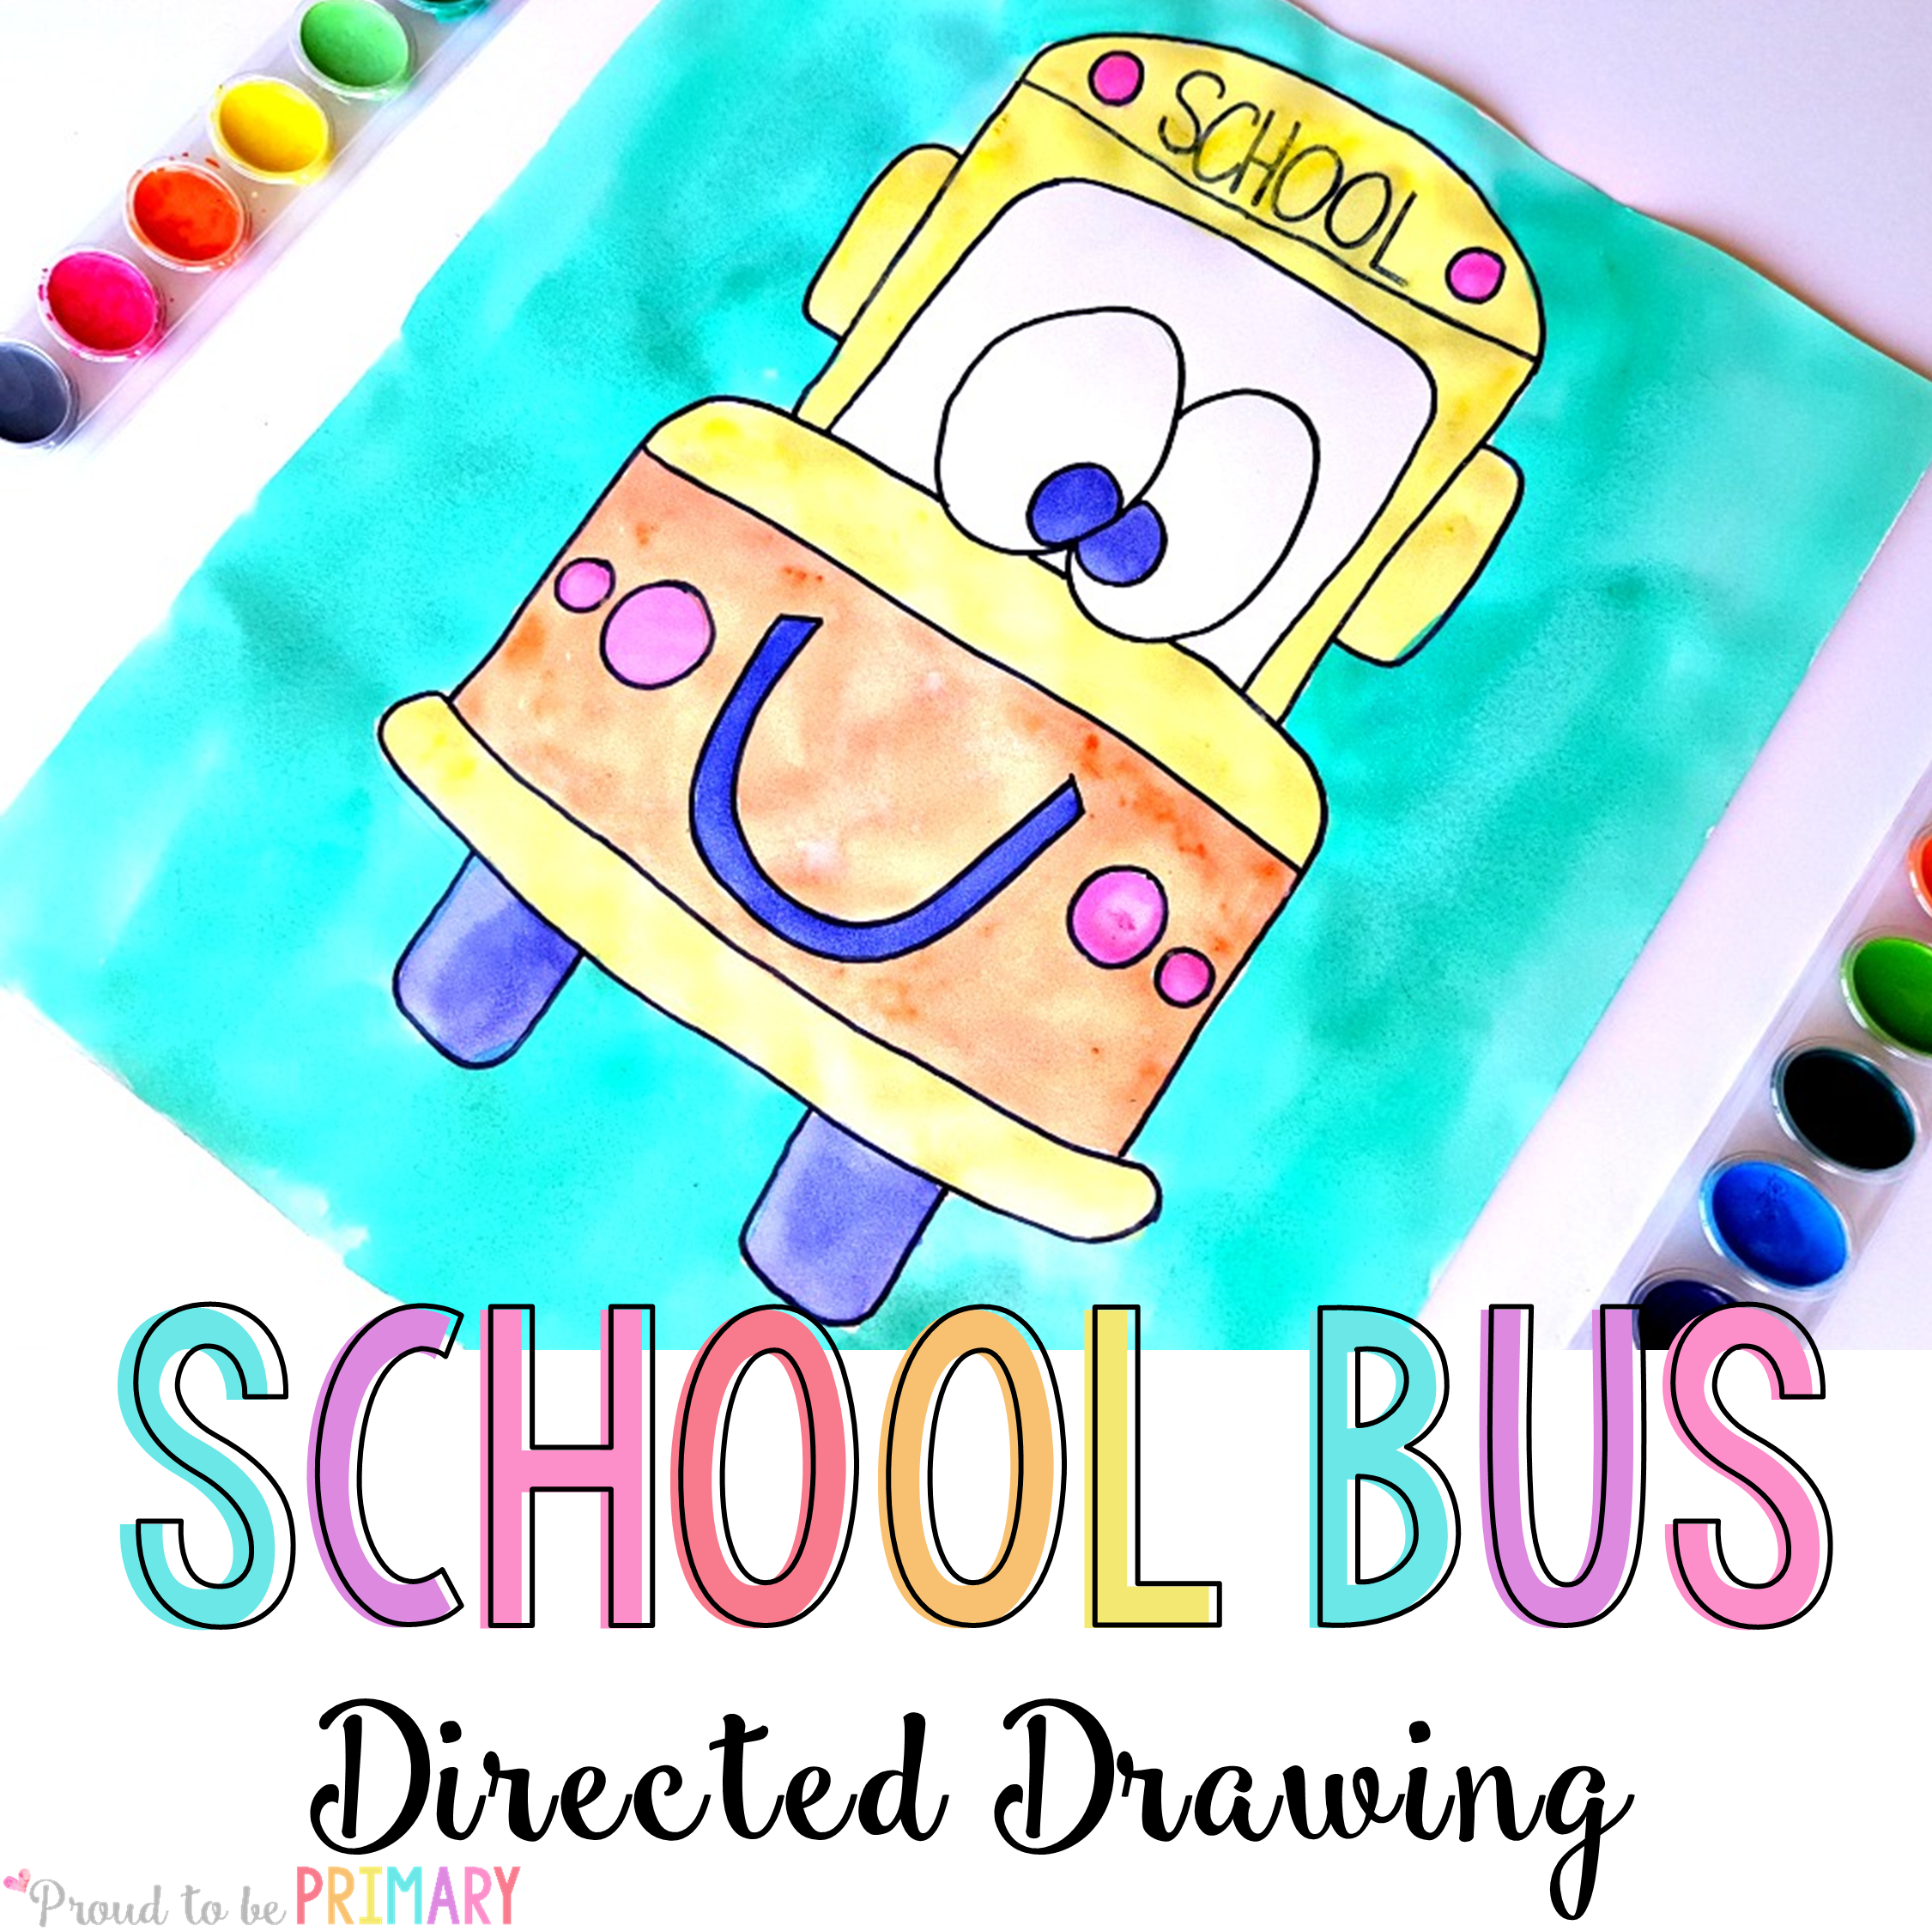
This is a back-to-school bus drawing art activity for kids, with easy step-by-step directed drawing instructions that teachers can use in the classroom during the first week of school.

Back to School Bus Drawing Activity
Kids love to draw, and this back-to-school bus drawing is the perfect activity during school’s first days and weeks. Practice following directions, important hand-eye and fine motor coordination skills, and learn a few fun tricks in drawing.
Use the pictures to decorate your bulletin board or walls for a cheerful scene. This is just one of the many directed drawings available for teachers – make sure you check out all of them!
Materials for School Bus Drawing
This school bus directed drawing can be adapted for any primary classroom or completed at home with a few simple materials. You will need white art paper, a pencil, an eraser, a fine black marker or Sharpie pen, watercolor paints, and a larger paintbrush. I recommend proper paper for painting because it can handle water and shouldn’t tear if appropriately used.

When teaching this art lesson to a class, I recommend standing front and center and using a large easel and chart paper to draw on. Students can sit at tables with their supplies. I take things slow, drawing each step and giving each instruction individually. I give my students plenty of time to follow along and ask questions. You will have the most success if you model the lesson this way and take your time.
School Bus Drawing Directions
Below are all the steps for the back-to-school bus-directed drawing art lesson.

Step 1
Place a large white piece of art paper in landscape orientation. Start by drawing a curved line at the top of the page that comes straight down on both sides to the middle. Draw a curve and a straight line down from the side. Repeat on the other side. Do not come too far down the page to leave room for the bumper and wheels. Connect both sides with a line going across.

Step 2
Draw two straight lines going across—one near the top of the bus and one near the middle. To complete the bumper, draw another line at the bottom and connect with curved side lines.

Step 3
Draw two large eyes in the center of the top part of the bus. Draw the eyes one at a time so that they can connect. Add a smaller circle inside each eye. Draw a line going across the middle so it connects both sides. Erase any lines that may have been drawn into the eyes. For the window, draw a curved line up from the middle on both sides and around the top.

Step 4
Now add the details. Draw a U shape about an inch wide under the bumper on both sides of the bus for the wheels. Draw a few circles for lights on the front of the bus. Add a smile to the front of the bus to give it a mouth. Give the bus ears by drawing a curved line on both sides. Write the word SCHOOL along the top of the bus and draw two more circles for lights.

Step 5
Use a fine-point black marker or Sharpie pen to trace all the lines of your school bus directed drawing. Erase the pencil lines with a good white eraser.
School Bus Drawing Finishing Touches
I usually complete the activity over two days or periods. Complete the drawing and tracing with a black marker on day one. One day two, paint. If your class hasn’t used watercolor paints before, you should demonstrate how to make proper brush strokes with a paintbrush and the water-to-paint ratio. I usually use larger paintbrushes instead of the small ones typically included in watercolor paint sets.
Step 6
Use watercolor paints to paint the body of the school bus first, starting in the center and working your way outward.

I used yellow for the main parts of the bus and other fun colors for the details. Bright colors pop! Use one color entirely before moving on to the next color.

You could continue to paint the background a different color or leave it as is. You could also cut the school bus out and glue it onto construction or other special paper.
Once everyone completes their back to school bus directed drawing, place them somewhere to dry completely. Please don’t make the mistake of hanging or putting them upright. Paint and water would drip down onto the pictures. Once dry, I recommend hanging them up or creating a fun bulletin board display for back-to-school time.

Free School Bus Directed Drawing Printable Instructions
You can download and print the instructions for the back to school bus directed drawing to use in your classroom during your art lesson by clicking the image below.
Directed Drawing Mats
Add directed drawings to your weekly lesson plans to help children follow directions and build drawing skills.

Five different directed drawings are included in each month of Directed Drawing Mats.
More Fun Directed Drawing Activities

Snowman Directed Drawing Art Activity

Turkey/Thanksgiving Directed Drawing

Frankenstein Franken Buddies Directed Drawing
PIN for Later


